Hey folks! So, I recently dove into a fun little project that I’m pretty excited to share with you all. Imagine this: you’ve got a massive folder of images—think thousands of pics—and you need to find ones that look similar to a specific photo. Sounds like a headache, right? Well, I rolled up my sleeves and built a tool that does exactly that, and it’s lightning fast thanks to some cool tech like vector search and a sprinkle of natural language processing (NLP) vibes. Let me walk you through it in a way that won’t bore you to death.
The Big Idea
The goal was simple: take one image, compare it to a whole bunch of others, and figure out which ones look alike. Maybe you’re organizing a photo gallery, hunting for duplicates, or even trying to spot knockoff designs—whatever it is, speed and accuracy matter. My solution? A Python script that uses a pre-trained deep learning model, a lightweight database, and some math wizardry to get the job done.
For downloading full code go at bottom
Step 1: Grabbing the Image DNA
First things first, I needed a way to “understand” what’s in an image. Enter ResNet50—a beefy deep learning model trained on millions of images. It’s like giving my tool a superpower to spot patterns, textures, and shapes. I stripped off its classification head (no need to label stuff like “cat” or “dog”) and used it to extract what I call the “DNA” of an image—a unique numerical fingerprint. Think of it as a long string of numbers that captures the essence of the picture.
Here’s the cool part: I resized every image to 224×224 pixels, fed it into ResNet50, and got back a neat little vector. This vector is what makes the magic happen later.
Step 2: Stashing the Fingerprints
Now, I didn’t want to redo this extraction every time I searched—talk about a time sink! So, I set up a tiny SQLite database to store these vectors. For every image in my dataset (just a folder of pics), I’d extract its fingerprint once, turn it into a binary blob, and tuck it away in the database with the filename. If the image was already there, I’d skip it. No fuss, no muss. This way, my tool only does the heavy lifting once, and searches are snappy afterward.
Step 3: The Search Showdown
Here’s where it gets juicy. Say I’ve got a random photo—like a blurry selfie of my dog—and I want to find lookalikes. I run that same fingerprint extraction on it, then grab all the stored vectors from the database. Now, how do I compare them? Cosine similarity to the rescue! It’s a fancy way of measuring how “close” two vectors are in space—kinda like checking if two arrows point in the same direction. The higher the score, the more similar the images.
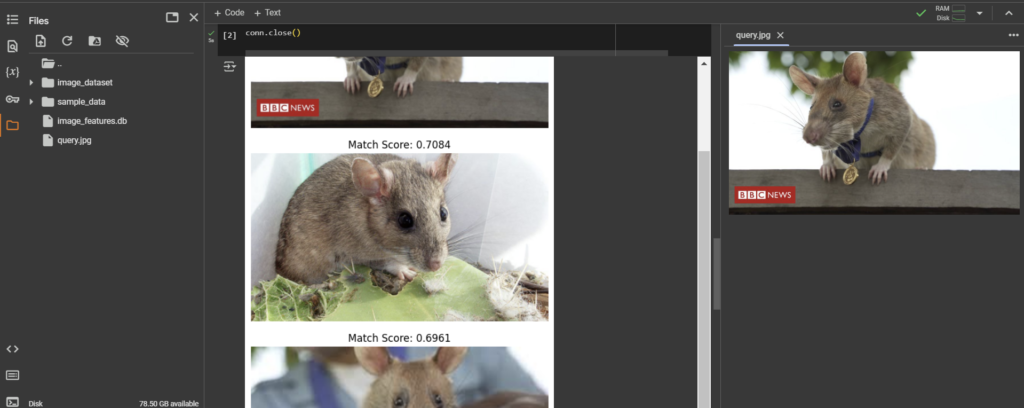
I sort the results, pick the top five matches, and boom—my tool spits out the filenames and similarity scores. Oh, and I threw in some quick code to display the images with Matplotlib so I could see the results with my own eyes.
Why It’s Fast
You might be wondering, “Okay, but why is this faster than just eyeballing every image?” Two reasons:
- Precomputed Vectors: By storing those fingerprints upfront, I’m not recalculating them every search. It’s like having a cheat sheet ready to go.
- Vector Search: Cosine similarity is ridiculously efficient when you’re dealing with numerical arrays. Pair that with NumPy’s speed, and it’s like a turbo boost.
Plus, the database keeps things lightweight—no massive memory hogs here. I could scale this up to tons of images without breaking a sweat.
pip install opencv-python numpyimport os
import numpy as np
import sqlite3
import cv2
import matplotlib.pyplot as plt
from tensorflow.keras.applications import ResNet50
from tensorflow.keras.applications.resnet50 import preprocess_input
from tensorflow.keras.preprocessing import image
from sklearn.metrics.pairwise import cosine_similarity
# Load ResNet model (without classification head)
model = ResNet50(weights="imagenet", include_top=False, pooling="avg")
# Connect to SQLite database
conn = sqlite3.connect("image_features.db")
cursor = conn.cursor()
# Create table if not exists
cursor.execute("""
CREATE TABLE IF NOT EXISTS image_features (
filename TEXT PRIMARY KEY,
feature_vector BLOB
)
""")
conn.commit()
# Function to extract image features
def extract_features(img_path):
img = image.load_img(img_path, target_size=(224, 224)) # Resize image
img_array = image.img_to_array(img) # Convert to array
img_array = np.expand_dims(img_array, axis=0) # Add batch dimension
img_array = preprocess_input(img_array) # Preprocess for ResNet
features = model.predict(img_array) # Extract features
return features.flatten() # Convert to 1D array
# Store features only once (if not already in DB)
def store_image_features(dataset_folder):
for filename in os.listdir(dataset_folder):
img_path = os.path.join(dataset_folder, filename)
cursor.execute("SELECT filename FROM image_features WHERE filename=?", (filename,))
if cursor.fetchone() is None: # Skip if already exists
try:
features = extract_features(img_path)
features_blob = features.tobytes() # Convert to binary
cursor.execute("INSERT INTO image_features (filename, feature_vector) VALUES (?, ?)",
(filename, features_blob))
conn.commit()
except:
print(f"Skipping invalid image: {filename}")
# Function to search for similar images directly from DB
def search_similar_images(query_img_path, top_n=5):
query_features = extract_features(query_img_path) # Extract features
query_blob = query_features.tobytes()
# Fetch all features from the database
cursor.execute("SELECT filename, feature_vector FROM image_features")
results = cursor.fetchall()
filenames = []
features_list = []
for filename, feature_blob in results:
filenames.append(filename)
features_list.append(np.frombuffer(feature_blob, dtype=np.float32))
# Convert to numpy array
dataset_features = np.array(features_list)
# Compute cosine similarity
similarities = cosine_similarity([query_features], dataset_features)[0]
top_matches = np.argsort(similarities)[::-1][:top_n]
return [(filenames[i], similarities[i]) for i in top_matches]
# Store dataset images into SQLite
dataset_folder = "image_dataset"
store_image_features(dataset_folder)
# Search for similar images
query_image_path = "query.jpg" # Change to your query image path
results = search_similar_images(query_image_path)
# Display results
print("Top matching images:")
for filename, score in results:
img_path = os.path.join(dataset_folder, filename)
img = cv2.imread(img_path)
img = cv2.cvtColor(img, cv2.COLOR_BGR2RGB)
plt.imshow(img)
plt.title(f"Match Score: {score:.4f}")
plt.axis("off")
plt.show()
# Close DB connection
conn.close()
What I Learned
This project was a blast because it mashed together a bunch of tools I love: OpenCV for image handling, TensorFlow for the deep learning bit, and SQLite for keeping it all organized. It’s not perfect—sometimes weird lighting or angles throw it off—but for a casual hack, it’s pretty darn impressive. I even tested it with a folder of random vacation pics, and it nailed finding shots from the same beach day.
What’s Next?
I’m thinking about tweaking it to handle real-time searches or maybe even tossing in some NLP to tag images based on their content. Imagine searching “sunset” and getting similar vibes without typing exact matches. Sky’s the limit, right?
So, that’s my little adventure into image similarity searching. If you’re into Python, AI, or just organizing chaos, give something like this a whirl. It’s less intimidating than it sounds, and the payoff is totally worth it. Got thoughts or ideas to make it better? Drop ‘em below—I’m all ears!


I understand this question. I invite to discussion.