It’s easy to create a react application by just running npx create-react-app project_name command, do you know what are the basic requirements for creating a react application and what are the files that are required to have in a react application.
In this blog, I will create a react application from scratch without using the create-react-app command.
What are the basic requirement for create react js application
These are the necessary features we need for react application.
- Index.html File
- Support for javascript ES6
- Webpack
- Root Component
- React Hot Loader
So now we know the requirements let’s start building the react js application.
First, we need to initialize the npm package and for that, we run a command that will create a package.json file.
npm init -yPackage.json file will look like this
{
  "name": "reactFromScratch",
  "version": "1.0.0",
  "description": "",
  "main": "index.js",
  "scripts": {
    "test": "echo \"Error: no test specified\" && exit 1"
  },
  "keywords": [],
  "author": "",
  "license": "ISC"
}
If you use Github for managing your project, this is the right time to initialize git, so just run the command git init on the terminal.
Now we need to create two directories that are basic requirements for react js app i.e. SRC, and Public folders.
SRC folder holds the actual code of react js and the public folder holds static files which we use for project deployment on the server.
Index.html File
Now let’s create an index.html file as we mentioned in the basic react js project requirements.
<!DOCTYPE html>
<html>
    <head>
        <meta charset="UTF-8"/>
        <meta name="viewport" content="width=device-width,initial-scale=1,shrink-to-fit=no"/>
        <title>React app from scratch</title>
    </head>
    <body>
        <div id="root">
            <noscript>Please enable javascript of your browser</noscript>
            <script src="./bundle.js"></script>
        </div>
    </body>
</html>
In the above code, we are adding a script file bundle.js, which we will create later.
Adding ES6 & JSX Support
Now to add ES6 and JSX support we have to install babel CLI and presets, and for that, we need to run this command.
npm install --save-dev @babel/core @babel/cli @babel/preset-env @babel/preset-reactAfter installing this command our react app now supports ES6 and JSX, this command will also create a file package-lock.json and a folder node_modules, this node_modules consists of all the required babel plugins for react js application.
Below you can see node_modules installed plugins from babel
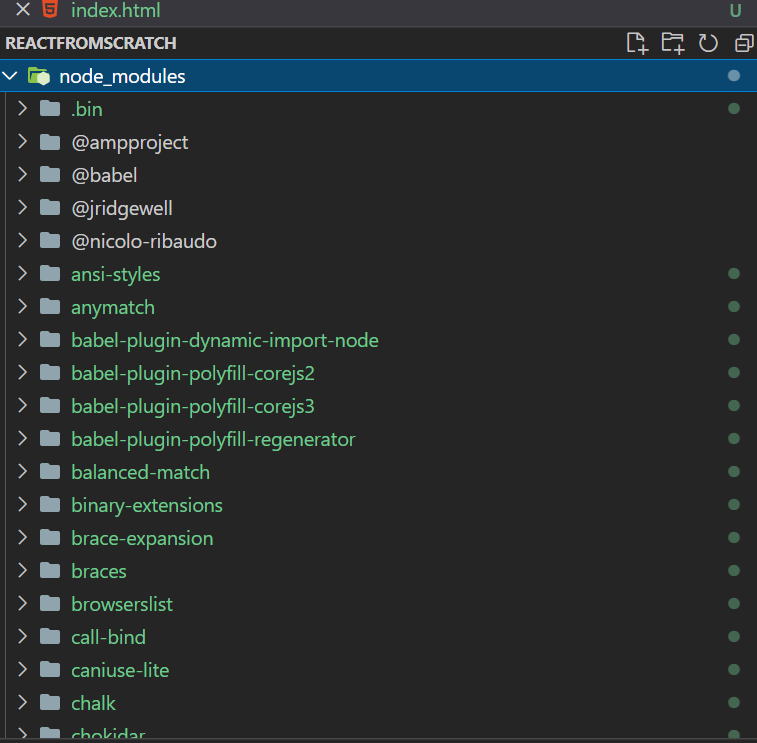
Another file Package-lock.json consists of all the details of plugins and modules installed. Package-lock.json file is very big so I am not showing the code here, once you go through this blog step by step you will be able to see your package-lock.json file.
We have to create one more file .babelrc, this will tell the babel transpiler what preset and plugins to use to transpile code.
Below you can see the .babelrc file.
{
    "preset":["@babel/preset-env", "@babel/preset-react"]
}
After installing babel, now we need to create three important files inside the SRC folder.
- index.js
- app.js
- app.css
App.js file
import React from 'react';
import './App.css';
const App = ()=>{
    return (
        <div className="App">
            <h1>React App from scratch</h1>
        </div>
    );
}
export default App;
App.css file
.App{
    text-align: center;
}
Index.js File
import React from 'react';
import ReactDom from 'react-dom';
import App from './App';

ReactDom.render(<App/>,document.getElementById("root"));
In the above three files, we have imported react and react-dom, but in our project, we haven’t installed the react and react-dom.
To Install react & react-dom we need to run this command
npm install react react-domNow we need to set up a webpack for building a server project for us.
Webpack
Webpack is a module bundler, it bundles javascript files for usage in a browser, It creates a dependency graph that consisted of all various modules. It generates static files to upload on the server, which you can find in the dist folder.
To install webpack, we have to run this command.
npm install --save-dev webpack webpack-cli webpack-dev-server style-loader css-loader babel-loaderAfter running this command we have to create a file called webpack.config.js
This file allows us to define what exactly we want webpack to do with our source code.
Let’s create this file
webpack.config.js
const path = require('path');
const webpack = require('webpack');
module.exports = {
    entry: './src/index.js',
    mode:'development',
    module:{
        rules:[
            {
                test:/\.(js|jsx)$/,
                exclude:/(node_modules)/,
                loader:'babel-loader',
                options:{presets:["@babel/env"]},
            },
            {
                test:/\.css$/,
                use:['style-loader','css-loader']
            }
        ]
    },
    resolve:{extensions:['*','.js','.jsx']},
    output:{
        path: path.resolve(__dirname, 'dist'),
        publicPath:'/',
        filename:'bundle.js'
    },
    devServer:{
        publicPath:'/',
        contentBase:'./dist',
        port:3000,
        hot:true
    },
    plugins:[new webpack.HotModuleReplacementPlugin()]
};
Now to build and serve our react application we need to run these commands
// Run this command to build project, it will create dist folder.
npx webpack --mode developement
// Run this command to open your project from dist folder to browser
npx webpack-dev-server --mode development --open --hot
A few things need to consider because sometimes your app doesn’t run, first, you need to place your index.html file inside the dist folder because we have defined the content base patch of the dist folder inside the webpack.config.js file and the project will not run if dist folder doesn’t have index.html file.
Now it is very important that our browser automatically refresh whenever we save our files code, To do this we need to install one last command for hot reloading.
npm install --save-dev react-hot-loaderWe use React hot loader to achieve this.
Now we must also update our App.js file to achieve this auto-refresh functionality.
App.js File
import React from 'react';
import {hot} from 'react-hot-loader';
import './App.css';
const App = ()=>{
    return (
        <div className="App">
            <h1>React App from scratch</h1>
        </div>
    );
}
export default hot(module) (App);
To run and build our project we don’t have to run these long commands every time. we can create some npm scripts to make them short and easy to run.
In the package.json file have need to define this inside the sections of the scripts.
"scripts": {
    "test": "echo \"Error: no test specified\" && exit 1",
    "dev": "npx webpack-dev-server --mode development --open --hot",
    "build": "npx webpack --mode development"
  },
Now to run these commands we just simply write npm run dev and npm run build
npm run build creates a dist folder with static files, which we upload on the server to make our project accessible to the world.
Important points for considration to successfully run this application.
As we are using webpack we may be going to face some listing directory home page issues, which means when you run your app with the npm run dev command it will open your react app, but that app will show listing directories instead of your react app components output.
- To remove this first you have to update your webpack.config.js file similar to mine, devServer information should be similar to avoid this issue.
- You have to first run the npm run build command and then you should run the npm run dev command because the project will run from the dist folder and that folder will generate when you run the build command first.
- Inside package.json files dependency section you will find all the versions of babel and other dependecies which are correctly working for me, so if you face any issue specific to any module or plugin, please change the version and run npm install again and then check if its working or not. You can copy all package.json file and run npm install it will work.
- Last point is important because webpack works weirdly sometimes so your absolute path i.e. C:\Users\Username\Desktop\reactjs\reactscratch should not have any space, So if your dirctory name consists any space in it remove it otherwise it won’t work and react app will show directory listing screen.
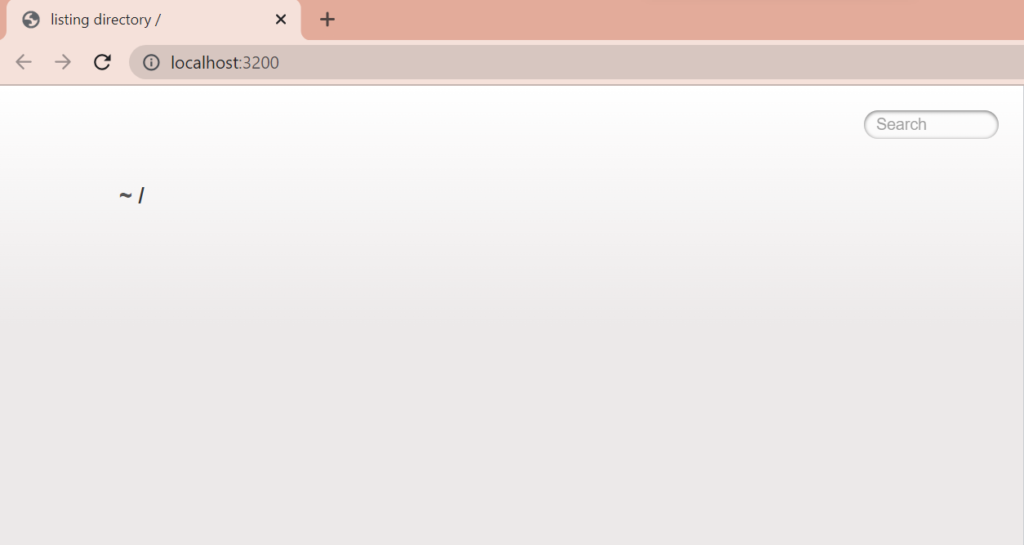
The above image shows the directory listing issue which you can face because of webpack so do what I said, follow my code carefully and you are good to go.
If you do everything in the right way, you will see this output
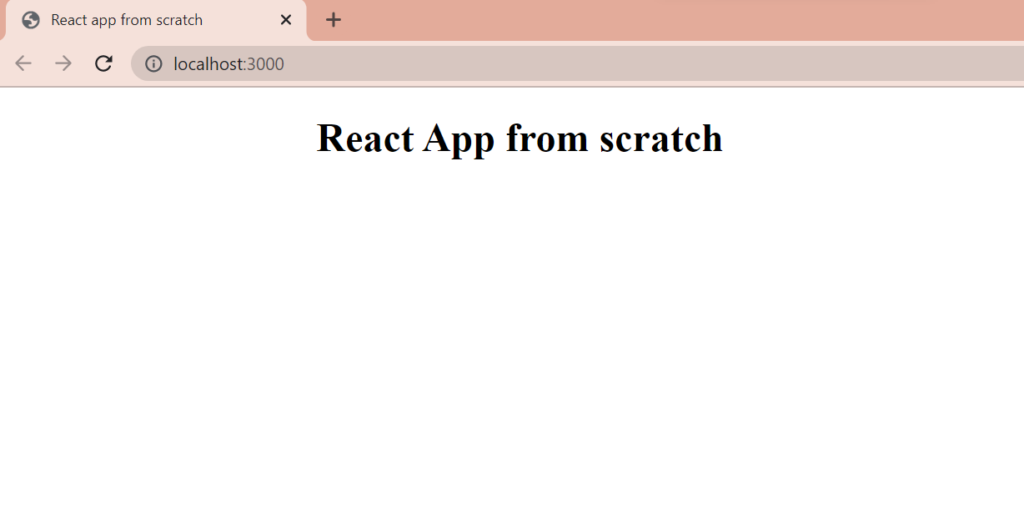
Don’t worry about the different ports in the images I changed them for testing 🙂
So I hope you like this blog, please try this, this will give you a better understanding of react js application’s core working.
Feel free to comment if you have any doubt, and I want to mention this video series where I learned this so go check out this also, I changed my final code it didn’t work as expected in the video, but this guy is really awesome, so click here to see the video, its LinkedIn learning paid course, so if you have LinkedIn learning paid account you can see the video otherwise you can do as i told you in this blog.


1 Comment