The JavaScript console is an invaluable tool for developers, offering a suite of console techniques that go far beyond simple debugging. Whether you’re tracking execution time, formatting output, or even displaying data in a table, the console provides a range of functionalities that can streamline your workflow and enhance your debugging process. In this article, we’ll explore some of the most powerful and lesser-known features of the JavaScript console that can elevate your coding game.
1. Track Code Performance with console.time()
Ever wondered how long a particular block of code takes to execute? The console.time() and console.timeEnd() methods allow you to measure the time it takes for your code to run, providing a simple yet effective way to optimize performance.
console.time('Loop time');
for (let i = 0; i < 1000; i++) {
    // Some code here
}
console.timeEnd('Loop time');
This will output the time it took to run the loop, giving you insights into how your code performs in real-time.

2. Elevate Output Readability with Custom Formatting
The console isn’t just for raw data dumps; you can format your output to make it more readable and visually appealing. Using placeholders like %s, %d, and %c, you can inject variables and even apply CSS styles.
console.log('%cHello World!', 'color: blue; font-size: 20px;');
This command will print “Hello World!” in a blue, 20-pixel font, adding a touch of style to your console logs.

3. Harness the Power of console.trace()
When debugging complex applications, knowing the exact sequence of function calls that led to a particular point in your code can be crucial. console.trace() provides a stack trace, showing the call sequence that brought you to the current line.
function a() {
    b();
}
function b() {
    c();
}
function c() {
    console.trace('Trace this!');
}
a();
This will output a stack trace to the console, showing you the path the code took to reach console.trace().

4. Display Data in Tables with console.table()
If you’re working with arrays or objects, console.table() allows you to visualize your data in a tabular format, making it easier to scan and analyze.
const people = [
    { name: 'John', age: 25 },
    { name: 'Jane', age: 30 },
    { name: 'Doe', age: 35 }
];
console.table(people);
This command will display the people array in a neatly organized table, with each object’s properties as columns.

5. Keep Track of Executions with console.count()
console.count() is a handy tool for counting how many times a specific line of code is executed. This can be especially useful when debugging loops or recursive functions.
function testCount() {
    console.count('Function called');
}
testCount();
testCount();
testCount();
This will output a count of how many times testCount() has been called, helping you monitor function execution frequency.

6. Clear the Clutter with console.clear()
When your console is cluttered with old logs, it can be challenging to focus on the current output. console.clear() provides a quick way to wipe the slate clean, giving you a fresh console to work with.
console.clear();
This simple command clears all the previous logs from the console, allowing you to start anew.
7. Inspect Objects and XML with console.dir() and console.dirxml()
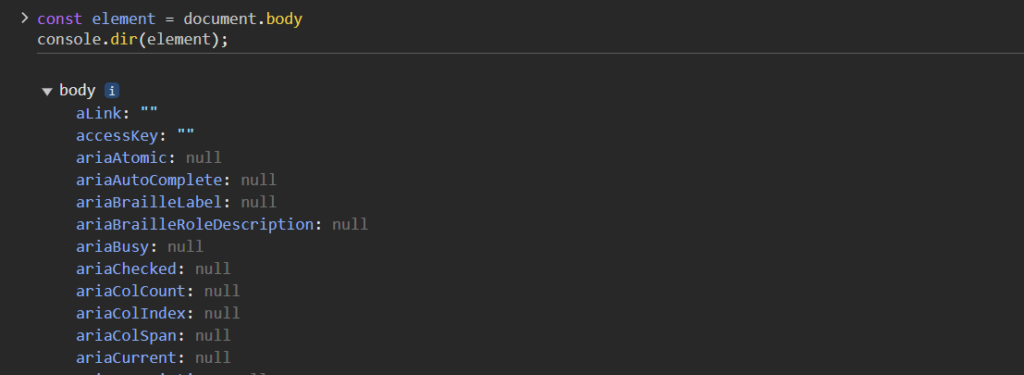
When dealing with complex objects or XML data, console.dir() and console.dirxml() allow you to inspect their structure interactively. This is particularly useful when you need to drill down into nested properties or nodes.
const element = document.body;
console.dir(element); // Logs an interactive listing of properties
Use console.dir() to explore the properties of DOM elements or objects in an organized manner.

8. Debug with Confidence Using console.assert()
console.assert() is a powerful tool that allows you to perform assertions directly in the console. If the condition you pass to console.assert() is false, it will log a message to the console, helping you catch potential issues early.
const x = 5;
console.assert(x > 10, 'x is not greater than 10');
Since x is not greater than 10, this will log an assertion message, indicating that something may be amiss in your logic.

Conclusion
The JavaScript console is more than just a place to log errors or simple messages. By leveraging its full range of features, you can enhance your debugging process, improve code readability, and gain deeper insights into your application’s behavior. Whether you’re a seasoned developer or just starting, mastering the console’s capabilities is a step toward more efficient and effective coding.


